Support / Gibson Sonex Wiring Diagram & Fitting Instructions
Fitting Instructions
The good news is Sonex are one of the more simple guitars to replace the wiring harness, because the wiring harness is attached to the large pickguard, which can be removed and worked on with ease.
Removal
- Find somewhere safe, dry and secure to place your Sonex guitar while you work on it.
- Remove Strings.
- Undo the screws that hold the pickguard to the body.
- Carefully lift the pickguard up and cut all wires from the body to the pickguard closest to the pots. These are a few ground wires (normally black in colour).
- Put the guitar safely out the way for the time being.
Replacement
- Working on the pickguard, cut the 2 x pickup ground wires from the back of the pots, Normally soldered to the volume pot.
- Cut the 2 pickup hot wires from the pots leaving the wires as long as possible.
- Undo the pot, switch and jack holding nuts from the front of the pickguard
- You should now be able to remove all 4 old pots switch and jack from the pickguard.
- At this point you may want to clean the front of pickguard where the old pots have been.
- The pickguard is now ready to fit the new harness.
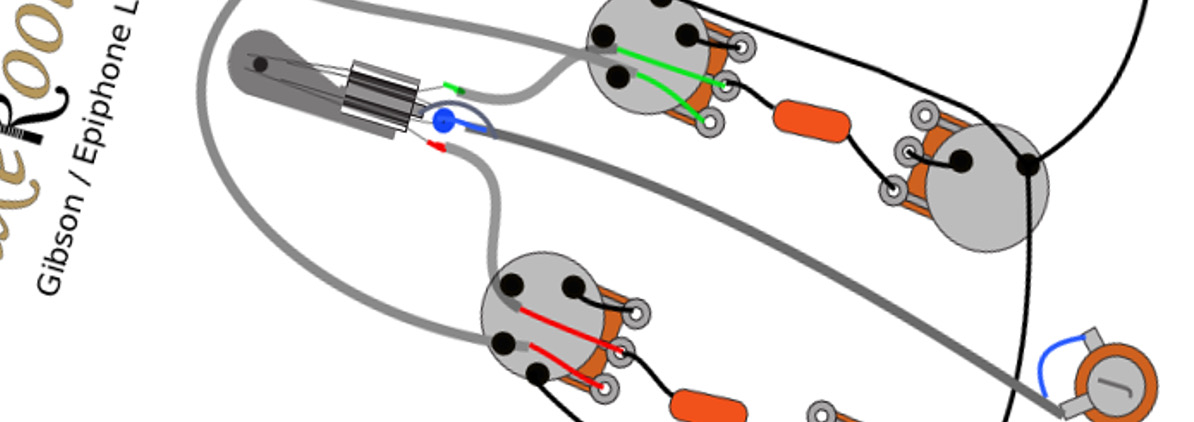
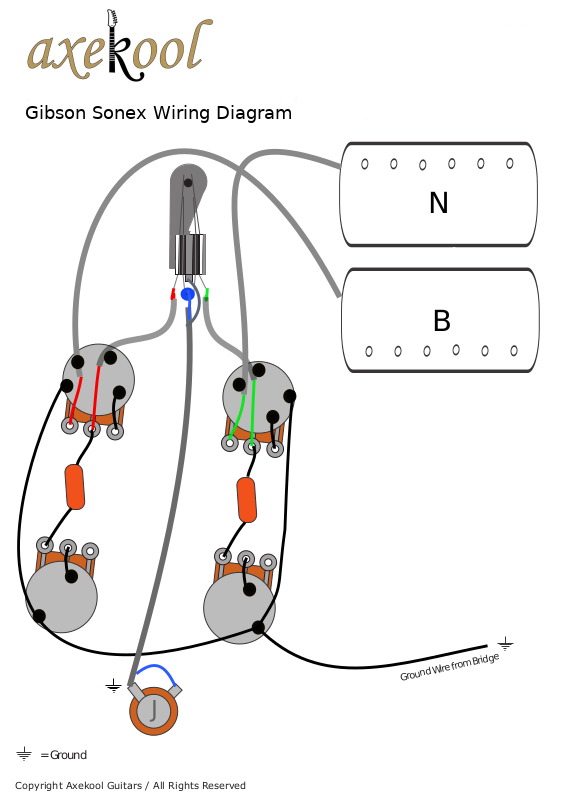
- From here everything is in reverse using the wiring diagram below.
- Fit the new wiring harness into the pickguard and secure with the locking nuts.
- Solder the 2 x ground pickup wires to the back of the new volume pots (refer to wiring diagram).
- Solder the 2 pickup hot wires to the new 2 volume pots (refer to wiring diagram).
- The pickguard is now ready to go back into the guitar.
- With the pickguard resting next to the guitar, solder the ground leads to the volume pot.
- Fit the pickguard back into place, but don’t screw it down yet.
Testing
- Plug the guitar into an amp and with something small and metal you should get a response from the pickups by gently tapping the pickup poles/posts. – Or you may have a Multimeter!
- If Everything is working, screw the pickguard into place and re-string.
Tools & Equipment
- Philips (Cross head) Screwdriver.
- Flat headed screwdriver on some models
- Small adjustable spanner/wrench.
- Good quality soldering iron.
- Wire Cutters.
- Masking tape for keeping things in place or out the way while working.
Tips
- When soldering the wires to the back of a pot, do not overheat / cook the pot.
- Keep wires tidy and neat and make sure all components are grounded.
Wiring Diagram

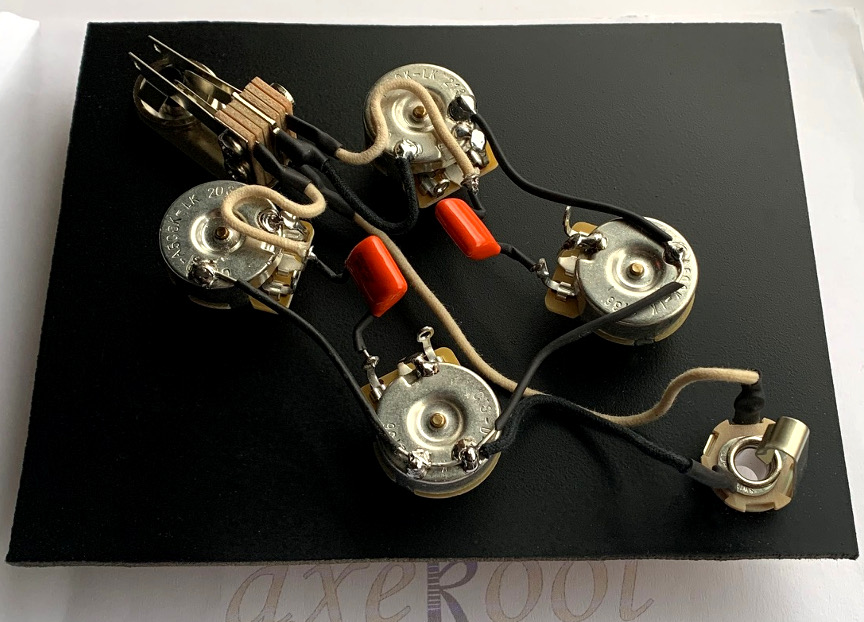
Gibson Sonex Vintage Wiring Harness
Buy Our Gibson Sonex Vintage Wiring Harness

Need More Help? / Get in touch
